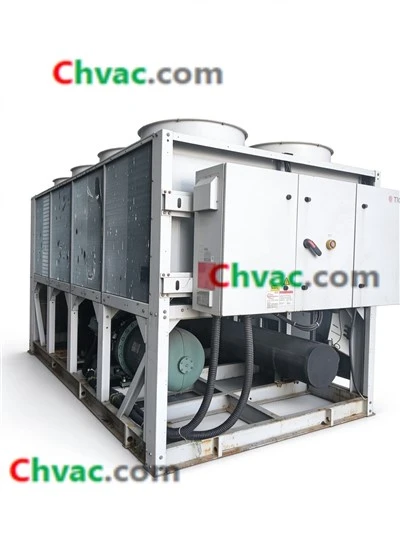
How to drain the water from York YK Chiller during maintenance?
Leave a message

As a supplier of York YK Chillers, I understand the importance of proper maintenance to ensure the optimal performance and longevity of these high - end cooling systems. One crucial aspect of maintenance is draining the water from the chiller. In this blog, I'll share a detailed guide on how to drain the water from a York YK Chiller during maintenance.
Why Drain the Water?
Before we dive into the process, it's essential to understand why draining the water is necessary. Over time, water in the chiller can accumulate impurities, minerals, and debris. These contaminants can cause corrosion, clog pipes, and reduce the efficiency of the chiller. Draining the water allows for a thorough cleaning and inspection of the system, preventing potential breakdowns and extending the lifespan of the chiller.
Pre - Maintenance Preparations
- Safety First: Always prioritize safety. Wear appropriate personal protective equipment (PPE), such as safety glasses, gloves, and protective clothing. Make sure the chiller is powered off and disconnected from the electrical supply to avoid any electrical hazards.
- Gather Tools: You'll need a few tools for the draining process, including wrenches, hoses, and a suitable container to collect the drained water. Ensure that the container is large enough to hold all the water from the chiller.
- Review the Manual: Refer to the York YK Chiller's operation and maintenance manual. The manual provides specific instructions and safety guidelines for your particular model. It also contains information about the location of drain valves and other important components.
Locating the Drain Valves
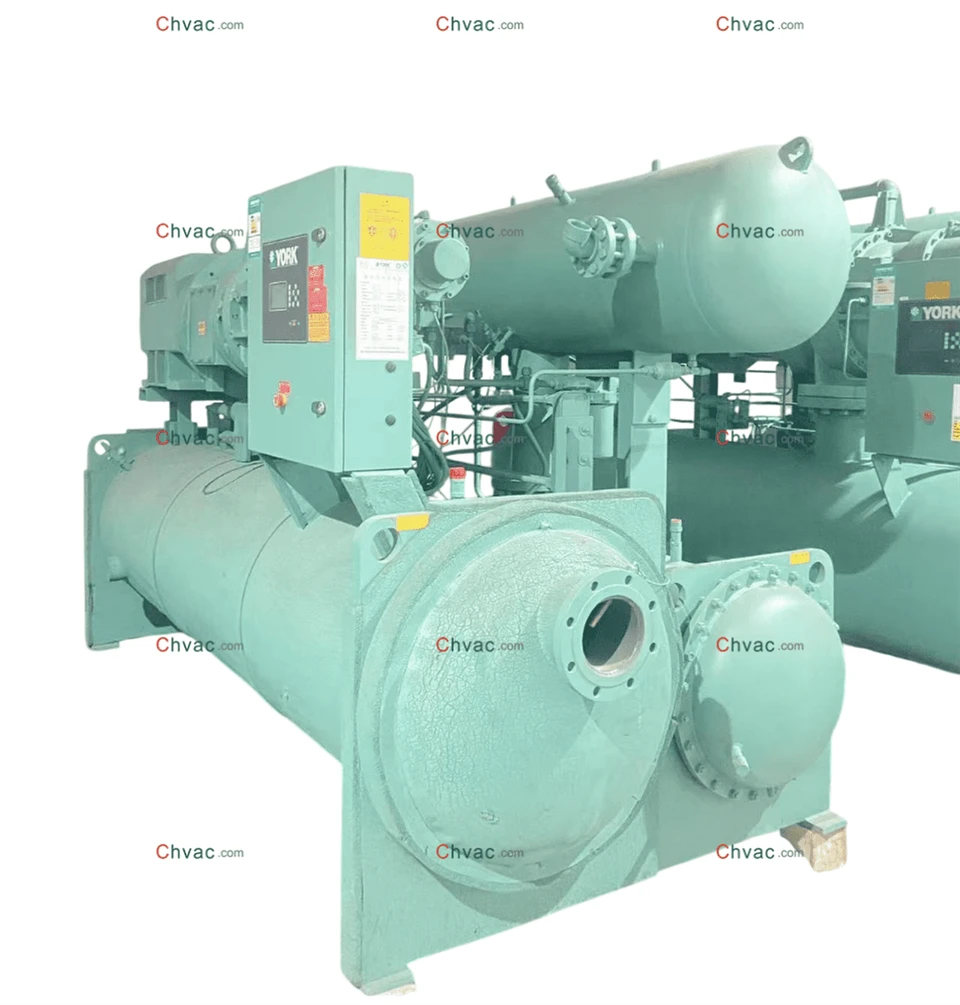
The York YK Chiller has multiple drain valves located in different parts of the system. The main drain valves are typically found on the evaporator and condenser.
- Evaporator Drain Valve: The evaporator is where the refrigerant absorbs heat from the water. Locate the drain valve at the bottom of the evaporator. This valve is used to drain the chilled water from the evaporator.
- Condenser Drain Valve: The condenser is responsible for releasing the heat absorbed by the refrigerant. Find the drain valve at the bottom of the condenser. This valve is used to drain the condenser water.
Draining the Evaporator
- Connect the Hose: Attach one end of the hose to the evaporator drain valve and the other end to the collection container. Make sure the connection is secure to prevent any leaks.
- Open the Valve: Use a wrench to slowly open the evaporator drain valve. As you open the valve, water will start to flow through the hose into the container. Monitor the flow rate and make sure the container does not overflow.
- Flush the Evaporator: Once most of the water has drained, you can flush the evaporator with clean water to remove any remaining debris. Close the drain valve and fill the evaporator with clean water. Then, open the drain valve again to flush out the water and any contaminants.
Draining the Condenser
- Repeat the Process: Similar to draining the evaporator, connect a hose to the condenser drain valve and the collection container. Open the valve slowly using a wrench. The condenser water will start to flow into the container.
- Check for Residue: After draining, inspect the condenser for any remaining water or debris. You can use a clean cloth or a small brush to remove any visible residue.
Inspecting and Cleaning the System
- Inspect the Valves and Pipes: While the water is drained, take the opportunity to inspect the drain valves and pipes for any signs of damage, such as cracks or leaks. If you notice any issues, replace the damaged parts immediately.
- Clean the Components: Use a mild cleaning solution to clean the evaporator, condenser, and other internal components. This will help remove any stubborn dirt and contaminants. Rinse the components thoroughly with clean water after cleaning.
Refilling the System
Once the draining and cleaning process is complete, it's time to refill the chiller with water.
- Close the Drain Valves: Make sure all the drain valves are closed tightly before refilling the system.
- Fill the Evaporator: Slowly fill the evaporator with clean water. Monitor the water level using the sight glass or level indicator on the evaporator.
- Fill the Condenser: Repeat the process for the condenser. Fill it with clean water until the appropriate level is reached.
Testing the System
After refilling the chiller, it's important to test the system to ensure that it is working properly.

- Power On the Chiller: Reconnect the chiller to the electrical supply and power it on. Follow the startup procedures outlined in the manual.
- Check for Leaks: Inspect the system for any leaks around the drain valves, pipes, and connections. If you notice any leaks, turn off the chiller immediately and fix the issue.
- Monitor the Performance: Monitor the chiller's performance, including the temperature, pressure, and flow rate. Make sure the system is operating within the normal range.
Related York Chillers
If you're interested in other York chiller models, we also have the YorkYSDBCAS35CH/22 Chiller and the York YRVDVCT2500C/22 Chiller in stock. Additionally, our 550KW York RWK 2020 - 10 CHVAC offers high - performance cooling solutions for various applications.
Contact for Purchase and Consultation
Proper maintenance of your York YK Chiller is crucial for its long - term performance. If you have any questions about the maintenance process, or if you're interested in purchasing a new York chiller, feel free to contact us. We're here to provide you with professional advice and support.
References
- York YK Chiller Operation and Maintenance Manual
- Industry standards for chiller maintenance and safety