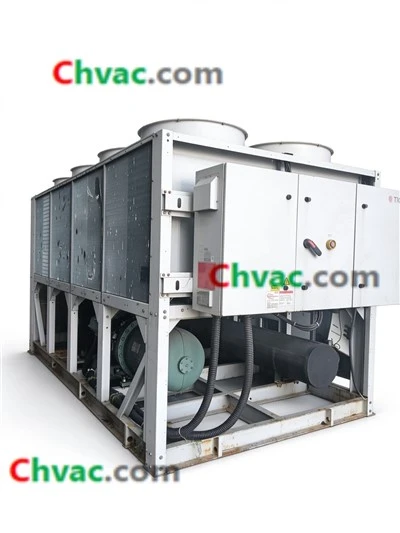
How to ensure the proper alignment of Carrier Centrifugal Chiller during installation?
Leave a message

Proper alignment of a Carrier Centrifugal Chiller during installation is crucial for its optimal performance, efficiency, and longevity. As a trusted supplier of Carrier Centrifugal Chillers, I understand the significance of this process and am here to share some essential steps and tips to ensure the correct alignment of these high - performance units.
Pre - installation Planning
Before the actual installation begins, a thorough pre - installation plan is necessary. First, a detailed site survey should be conducted. This involves assessing the physical space where the chiller will be installed. The floor should be flat and able to support the weight of the chiller. Any unevenness in the floor can lead to misalignment issues during and after installation. The site should also have adequate clearance around the chiller for maintenance and service access.
Another important aspect of pre - installation planning is to review the installation manual provided by Carrier. The manual contains detailed specifications regarding the alignment requirements, such as the allowable tolerance for horizontal and vertical alignment. It is essential to familiarize oneself with these specifications to ensure compliance. For example, Carrier provides specific guidelines on the maximum slope allowed for the chiller to operate efficiently.
Equipment Preparation
Once the pre - installation planning is complete, the next step is to prepare the chiller and related equipment. This includes unpacking the chiller carefully and inspecting it for any damage during transit. Check all the components, such as the compressor, condenser, and evaporator, to ensure they are in good condition.
It is also important to clean all the connection points, such as the piping flanges and electrical terminals. Any dirt or debris at these connection points can affect the alignment and performance of the chiller. Additionally, make sure all the gaskets and seals are in place and in good condition. Damaged gaskets can lead to leaks, which can further cause alignment problems over time.
Initial Placement
When placing the chiller on the designated site, use a forklift or a crane with proper lifting equipment. Ensure that the chiller is lifted and placed gently to avoid any sudden impacts that could misalign the internal components. Place the chiller on the prepared foundation or support structure.
Use a spirit level to check the initial horizontal alignment of the chiller. Adjust the leveling feet of the chiller to make it as level as possible. The spirit level should be placed at multiple points on the chiller's base to ensure accurate alignment. If the chiller is not level, it can cause uneven stress on the compressor and other components, leading to premature wear and reduced efficiency.
Piping Alignment
Proper piping alignment is a critical part of ensuring the overall alignment of the Carrier Centrifugal Chiller. The piping should be installed in a way that minimizes stress on the chiller's connections. First, measure and cut the pipes to the correct length. Use pipe clamps and supports to hold the pipes in place during installation.
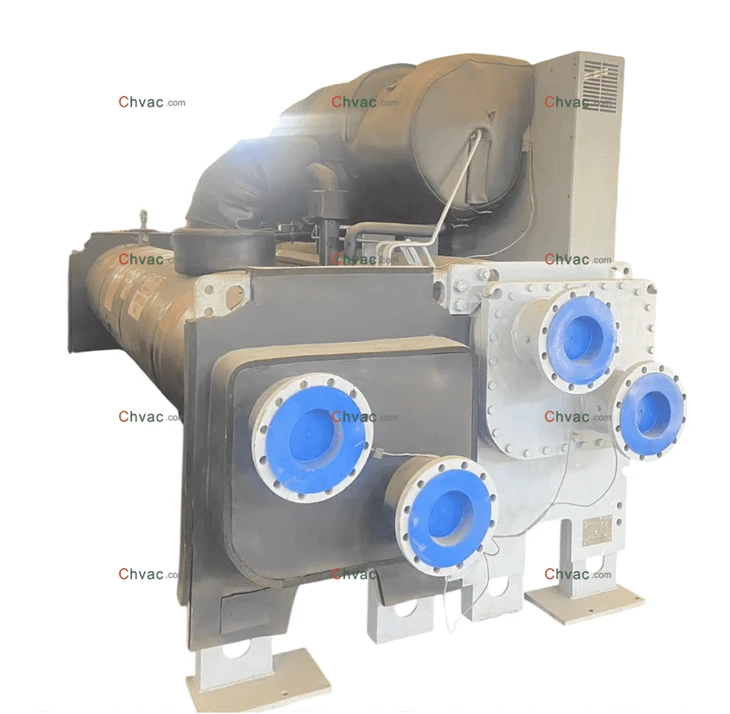
When connecting the pipes to the chiller, ensure that the flanges are perfectly aligned. Misaligned flanges can cause leaks and additional stress on the chiller. Use a flange alignment tool to check the alignment of the flanges before tightening the bolts. Tighten the bolts evenly in a criss - cross pattern to ensure uniform pressure distribution.
For example, if you are installing the Carrier Centrifugal 23XRV3637NRVAA9 Water Cooled Chiller, following the correct piping alignment procedures is essential for its proper operation. The chiller's high - efficiency design relies on smooth refrigerant flow, which can be disrupted by misaligned piping.
Electrical Connection Alignment
In addition to piping alignment, electrical connection alignment is also important. The electrical cables should be routed neatly and connected to the correct terminals on the chiller. Use cable ties to secure the cables and prevent them from moving or rubbing against other components.
Check the electrical connections for proper tightness. Loose electrical connections can cause overheating, which can damage the chiller's electrical components and affect its alignment. Ensure that the electrical grounding is properly installed to protect the chiller from electrical surges.
Final Alignment Check
After the piping and electrical connections are complete, perform a final alignment check. Use precision alignment tools, such as laser alignment systems, to measure the alignment of the chiller's rotating components, such as the compressor shaft. Laser alignment systems can provide highly accurate measurements and help identify any minor misalignments that may not be detectable with a spirit level.
If any misalignments are detected during the final check, make the necessary adjustments. This may involve loosening and re - tightening the bolts on the piping flanges or adjusting the leveling feet of the chiller. It is important to repeat the alignment check after each adjustment to ensure that the chiller is properly aligned.
Testing and Commissioning
Once the chiller is properly aligned, it is time for testing and commissioning. Start the chiller and monitor its operation closely. Check for any unusual vibrations, noises, or temperature changes. Unusual vibrations can be a sign of misalignment or other mechanical problems.
During the testing phase, also check the refrigerant levels and the performance of the cooling system. Ensure that the chiller is achieving the desired cooling capacity and efficiency. If any issues are detected during testing, address them immediately. This may involve further alignment adjustments or troubleshooting other components of the chiller.
Maintenance and Monitoring
Proper alignment is not a one - time task. Regular maintenance and monitoring are essential to ensure that the chiller remains properly aligned over its lifespan. Schedule periodic inspections to check the alignment of the chiller and its components. This can help detect any potential alignment issues early and prevent major problems from occurring.
During maintenance, also check the condition of the piping, electrical connections, and other components. Replace any worn - out gaskets, seals, or bolts as needed. Additionally, monitor the performance of the chiller over time. Any significant changes in performance, such as a decrease in cooling capacity or an increase in energy consumption, may indicate alignment problems.
Conclusion
Ensuring the proper alignment of a Carrier Centrifugal Chiller during installation is a complex but essential process. By following the steps outlined above, from pre - installation planning to maintenance and monitoring, you can ensure that your chiller operates at its best. Whether you are installing the Carrier 30hxc Chiller or the Carrier 19XR8R84E63MFB52 Water Cooled Chiller, proper alignment is key to its long - term performance and reliability.
If you are in the market for a Carrier Centrifugal Chiller or need assistance with installation and alignment, I encourage you to reach out for a detailed discussion on your specific requirements. We are committed to providing high - quality products and professional support to ensure that your chiller installation is a success.

References
- Carrier Corporation. Installation Manuals for Carrier Centrifugal Chillers.
- Industry standards and guidelines for chiller installation and alignment.